News
Congratulations to our July 2022 $100 Shopping Spree Winner, Deborah Emielita, from Temecula, California!
Congratulations to our July 2022 $100 Shopping Spree Winner, Deborah Emielita, from Temecula, California!

Deborah Emielita has entered a few times into our drawing, and I don't want to just focus on the last entries. They are the two quilts with beautiful cranes appliqued on them.
The crane quilts are amazing, but I also want to show you the one she entered last November. It's below. I don't know the details of this quilt, but I imagine Deborah made the appliques like the cranes in the other quilts, which are explained below. Deborah used our stencils in the backgrounds of the blocks below, #31028, Mandala Guide, and 30546, Diamond Ridge Borders. What a gorgeous quilt! 
This is Deborah's Story in her own words.
"So, a little about me. I do not have any background in art or quilting. I grew up learning to sew clothes all on my own because my mother didn't sew nor do well with machines. That did help with figuring things out, how to correct tension, and fixing mistakes. I joined a quilting class with a friend after I retired from work (as a Process Engineer): we did string, rag, and several sampler and calendar quilt piecing of quilt tops, then I had to figure out FMQ since she didn't do that and I wanted to learn it. Helen Godden (humble stippling) and Angela Walters (quilt it a lot) were my inspirations for FMQ. I realized I didn't really like piecing the same block or any repetitive sewing (much as I love traditional piecing). It's just for accents in my quilts! So, I tried panels, appliqués, pillows, and table runner projects to learn FMQ! I am now on my 6th quilt design, so I'm very much still a beginner!


When I was a kid, my mom took us to Art Museums, and my question was, what makes this piece art? Most of those used paint to create realistic light & color & perspective. That's how I think about my quilting; what do I want to emphasize or embellish? The quilting can add perspective, dimension, and subtle lighting or draw attention away or to an area. I've used many of the grid stencils to achieve that, making a subject pop out with a backdrop, like in the photo (attached of the Fox and Buffalo), or adding outlines, fabric markers, and stitching to do accent or lighting (floral pillow photo). My latest quilt is a refinement of the June quilt entry by adding fabric to the bird appliqués, then the stenciled swirls and FMQ around the clamshell stencils to achieve perspective and emphasis for the flying night birds; it's got a more balanced overall result (see pic below). It's a work in progress: my quilting adventures!
Thanks so much for the chance to talk about my quilting experience!"


A Closer Look at the Crane Quilts


Most of what I'm writing has been taken directly from Deborah's words as she and I exchanged a few emails about her quilt. I asked for more details, knowing you would want to know more about what you see in the photos. There is no pattern. This is an original creation by Deborah Emielita.
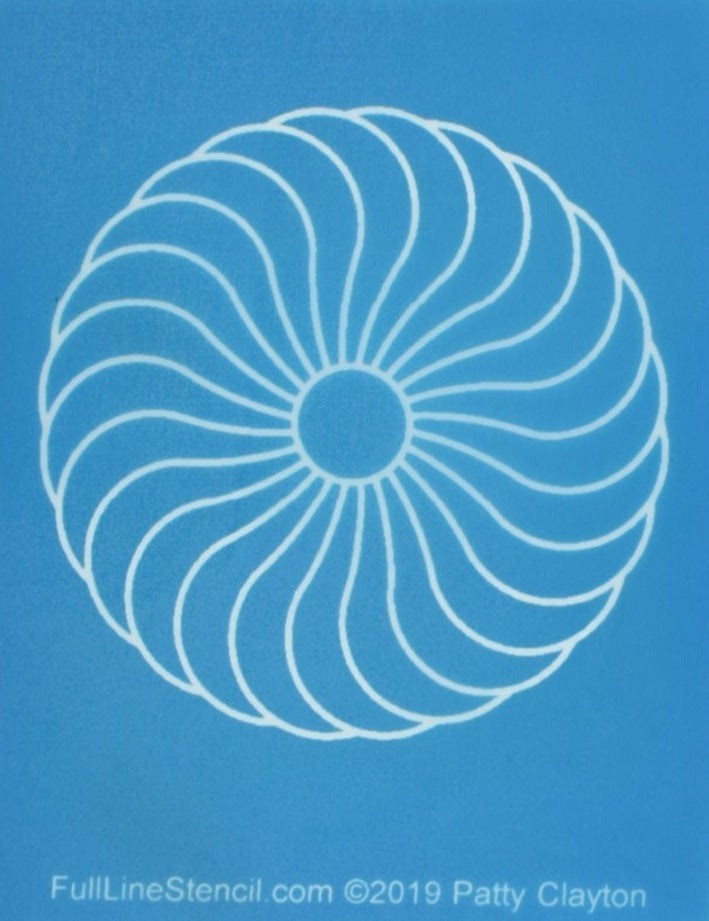
This is in regards to the photo directly above. "The stencils in the sky are the spiral swirl (reminds me of a galaxy in the sky) and the clamshell Sashiko stencil as clouds!
About the cranes: I asked Deborah about the cranes; were they fussy cut or embroidered? She replied, "I took a black & white photograph of the print fabric with the white cranes. See the photographs below. Also in the photograph is the fabric I used for the smaller appliqués., it's similar to the background fabric as I wanted it to look a little like blending "mist." I used black and white photocopies of the crane fabric, I made several reduced sizes, then transferred using a lightbox and frixion pen (heat erasable like your white chalk)." I love raw edges with FMQ and with some fabric markers as it comes out more finished that way, and outlines on the cranes, in black and some blue thread, work well for the night shadowing. Those appliqués with the detailed thread on the smaller two cranes are stitched to batting, including some fabric marker for that detail, batting trimmed underneath.
How they are appliqued: Then it's appliquéd on the background fabric with an outline stitch in black & required another batting trim because the detailed stitching flattened the bird. Then when the final sandwich was added, it was stitched again to the background fabric with highlighted thread in black and blue. It's an evolution in my appliqués technique. The largest crane is the fabric that I loosely cut and then stitch to the front with the batting, Trim away excess batting and fabric on the front. I find it much easier to stitch a loose cut than trim it after the first outline stitch. Then do the sandwich and stitch it again. The clouds FMQ around and behind also help plump the batting out. So those were my techniques, and anyone can do them! "
It's a fantastic technique, similar to a trapunto technique with the same puffy 3-D effect when finished. You make it look easy!


