

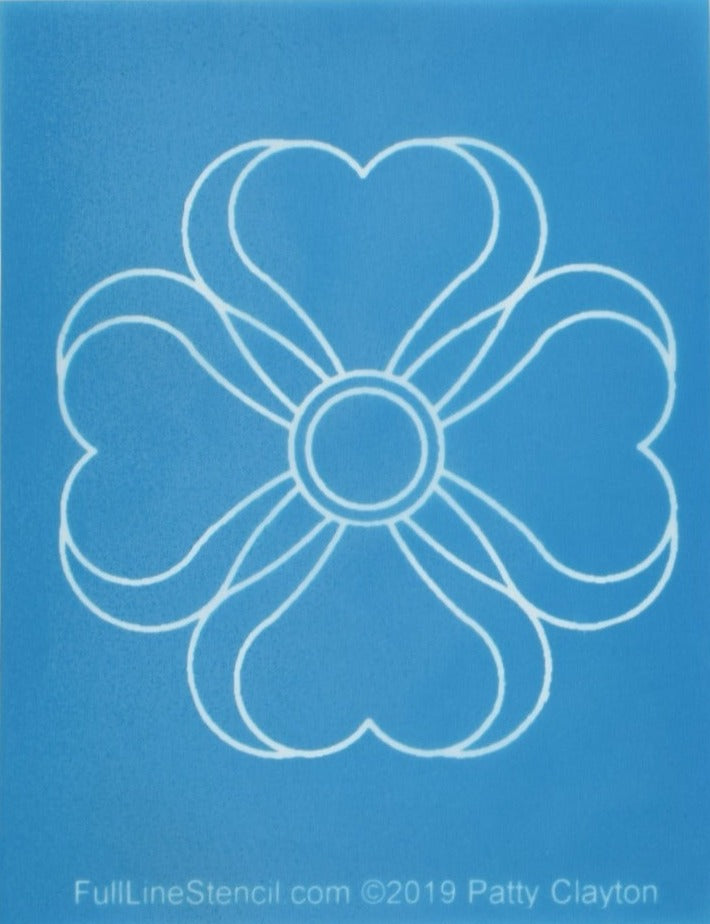
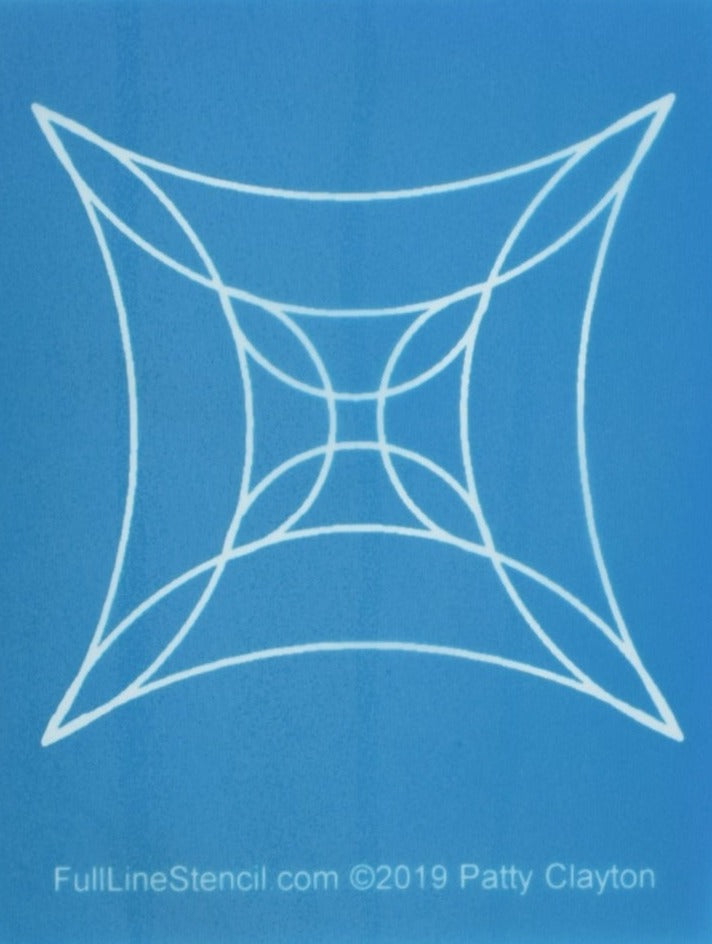
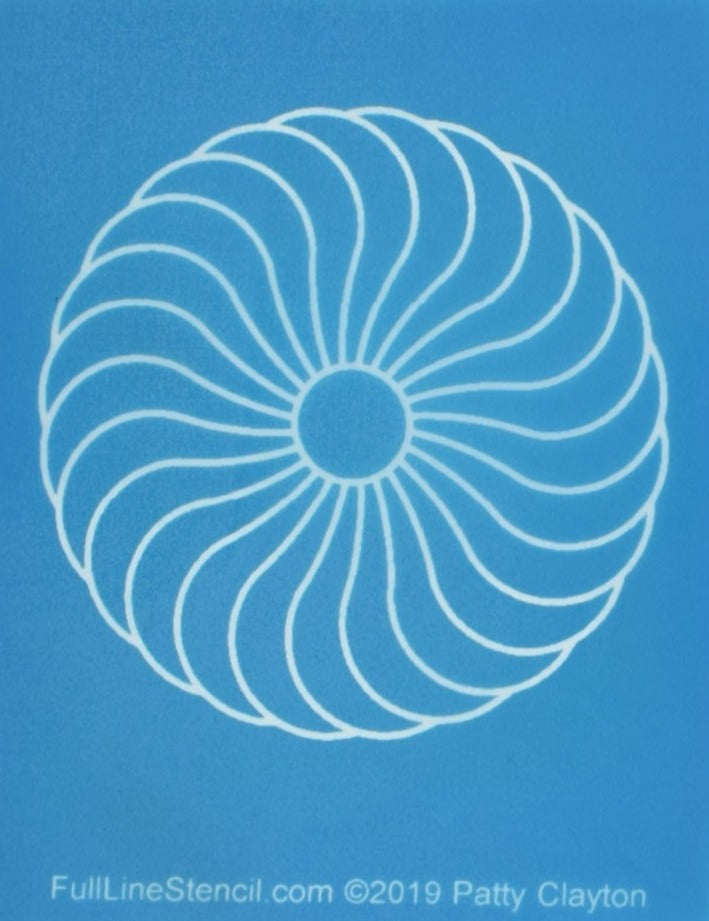
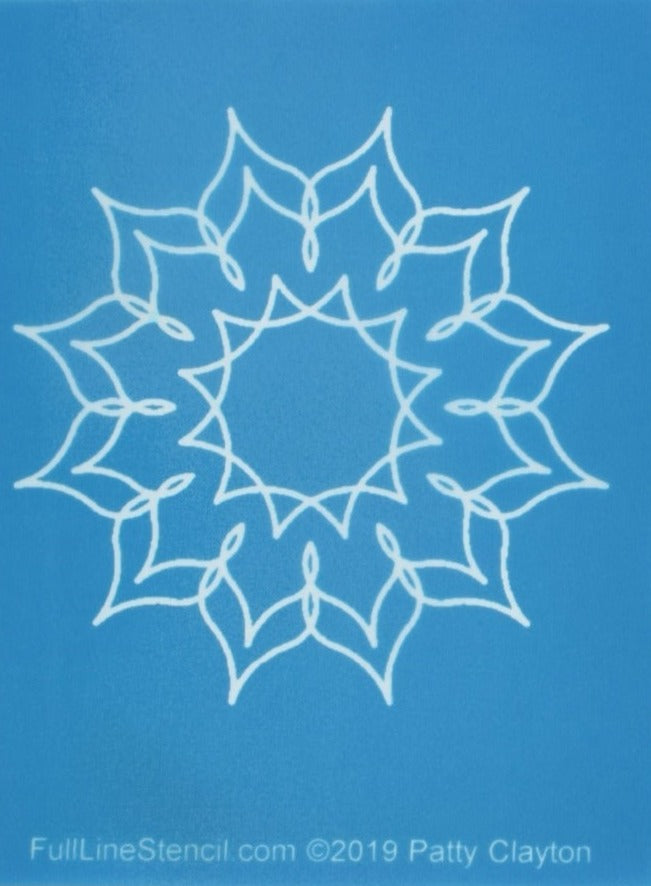
Border Designs
Sort by


FAQs
1. What makes Full Line Stencils different from traditional quilting stencils?
Traditional quilting stencils generally require you to trace the design through openings using a marking pencil or other marking tool.
Full Line Stencils work differently!
Our stencils are made with a special nylon mesh that allows chalk powder to pass through the design when you swipe a Quilt Pounce Pad across the surface.
Instead of tracing every line individually, you can transfer an entire quilting design in just a few swipes.
It's a faster, easier way to mark quilting designs, especially when you're working with long borders or repeating patterns.
2. Are Full Line Stencils reusable?
Yes! Full Line Stencils are designed to be used over and over again.
They're made from durable nylon mesh and, with proper care, can be used countless times.
If chalk residue builds up, simply clean your stencil with a dry or damp cloth. A microfiber towel works well, too.
Store your stencils flat whenever possible to help keep them in good condition.
3. Can I use Full Line Stencils for machine quilting, longarm quilting, and hand quilting?
Absolutely! Full Line Stencils work with all three methods.
Whether you're quilting on your domestic sewing machine, using a longarm, or stitching by hand, the stencil transfers a visible pattern onto your fabric for you to follow.
This makes it easy to create consistent designs without having to draw them yourself.
4. What are border design quilting stencils?
Border design quilting stencils help you add beautiful, consistent quilting patterns around the edges of your quilt. They can be used to complement your quilt's overall design, frame the center of your quilt, or add a decorative finishing touch.
Full Line Stencils are made with a special nylon mesh that allows you to transfer an entire design onto your fabric using a Quilt Pounce Pad. No tracing required! Simply position the stencil, swipe the Pounce Pad across the design, and you're ready to quilt.
5. Are border quilting stencils suitable for beginners?
Yes! In fact, they're especially helpful for beginning quilters.
You don't have to be an artist or know how to draw beautiful feathers, leaves, or other decorative patterns. The stencil does the marking for you.
Simply transfer your design with a Quilt Pounce Pad and follow the lines as you stitch. You can concentrate on developing your quilting skills rather than worrying about drawing the perfect pattern.
6. How do I choose the right quilting border design for my quilt?
Start by considering the width of your quilt border and the overall style of your quilt. Feathers and floral designs are beautiful choices for traditional quilts, while geometric patterns, waves, and simple continuous designs work well with modern quilts.
Also consider how much quilting you want in your border. An open, flowing design will give your quilt a different texture than a more intricate pattern.
And remember, your quilting design doesn't have to match your piecing exactly. Sometimes a contrasting design creates the most interesting effect!
7. What sizes are available for quilting border stencils?
Full Line Stencil offers border designs in a variety of widths, from narrow designs suitable for small borders to larger patterns for wider borders.
As a general guide:
- Narrow borders: 1–3 inches
- Medium borders: 3–6 inches
- Wide borders: 6 inches and larger
We recommend leaving at least 1/4 inch of space between your quilting design and the edge of your border. You can certainly leave more! The amount of space is a matter of personal preference.
Always check the individual product description for the exact dimensions of the design.
8. How do I transfer a quilting border design onto my fabric?
It's easy!
- Position your Full Line Stencil where you want the quilting design to appear.
- Fill your Quilt Pounce Pad with the appropriate chalk powder.
- Swipe the Pounce Pad across the stencil to transfer the design through the nylon mesh.
- Carefully lift the stencil to reveal your marked pattern.
- Quilt along the lines using your preferred quilting method.
Helpful tip: Swipe the Pounce Pad across the stencil rather than bouncing or pounding it. The swiping action is what transfers the chalk through the mesh (and it’s much less messy).
9. How do I use the registration marks on Full Line Stencil border designs?
Registration marks make it easy to connect one section of a border design to the next, creating a continuous pattern.
Begin by transferring your first section of the design onto your quilt.
When you're ready to repeat the pattern, reposition the stencil so its registration marks align with the corresponding chalk marks from the previous transfer.
Once everything is aligned, swipe your Quilt Pounce Pad across the next section of the stencil.
Continue this process along your border to create a smooth, connected design.
Helpful tip: Take a moment to check the alignment before transferring each new section. This will help keep your design consistent from beginning to end.
10. How do I turn corners when using quilting border stencils?
Turning corners is one of the most common questions we hear from quilters!
There are several ways to approach corners, depending on the design you've chosen and the look you want to achieve.
Some border patterns have coordinating corner designs, allowing you to create a continuous look around your quilt. Other designs may require adjusting the placement or using a separate corner motif. Because it's subjective, it is hard to write one set of distinct instructions. Many listings explain how to turn corners for a particular border stencil. Keep in mind, you can try at least four different options and choose the best. Because there is no right or wrong side to the stencil, flipping it over can create a nice corner option.
11. What if my quilting border design doesn't fit the exact length of my border?
Don't worry! This is common, especially when working with repeating border designs.
The key is to plan your design placement before transferring the entire border.
Depending on the pattern, you may be able to adjust the spacing, modify the repeat, or use a coordinating design to fill the remaining space. If the stencil includes a corner you like, mark the corners first, then add the stencil repeats in between, stretching or condensing the design to fit. It may sound difficult, but it’s not something anyone notices when looking at the quilt.
12. What if my Full Line Stencil gets wrinkled?
No problem! Full Line Stencils can be ironed to remove wrinkles.
Set your iron to the synthetic fabric setting and carefully press the stencil to smooth it out. You can use a pressing cloth, or iron the stencil directly.
13. How do I remove the chalk markings after quilting?
The removal method depends on which Quilt Pounce chalk you're using.
Always follow the removal instructions for your particular chalk product, and test on a fabric sample before marking your finished quilt.
If you're using Iron-Off Ultimate chalk, the markings are designed to disappear when the appropriate heat is applied. High heat is recommended - Cotton or linen setting. If the heat is lower, it will take longer to disappear. There is no residue on the iron or the fabric once it’s erased. For our color chalk, start with the least amount of effort - many times, that is all it takes. Brush off the chalk with a microfiber towel, a lint brush, or a soft-bristled brush of your choice. If it’s still there or embedded in the thread, wash in a washing machine with your normal detergent. Check before putting it in the dryer if you’re not going to hang dry. If some of the chalk is still there, the dryer heat may set it. For more stubborn cases, products like Oxy-Clean can work well. Max Force or Oxy-Clean for baby clothes, which is gentler yet still very effective. Our chalk, whether iron-off or colored, does not come back. Once it’s gone, it’s gone.
14. What are the most popular quilting border patterns?
Some of the most popular border designs include feathers, floral vines, leaves, waves, geometric patterns, and braided designs.
Most of these are continuous-line patterns, making them especially convenient for quilting along borders.
The best choice depends on your quilt's style and the look you want to achieve.
Browse our collection to find a design that complements your next quilting project! Keep in mind that a narrow border can be placed as two rows in wider borders.
15. Can I use border stencils on quilts other than traditional patchwork quilts?
Of course!
Border stencils can be used on modern quilts, wholecloth quilts, appliqué quilts, wall hangings, table runners, and many other quilted projects.
You can even use border designs in areas other than the actual quilt border. A beautiful feather or vine design might be just what you need to fill a long sashing strip or another open area.
Don't be afraid to experiment!
16. Where can I buy Full Line Stencil quilting border designs?
You can find our complete collection of quilting border designs at Full Line Stencil.
We offer a variety of patterns, styles, and widths to help you find just the right design for your next project.